
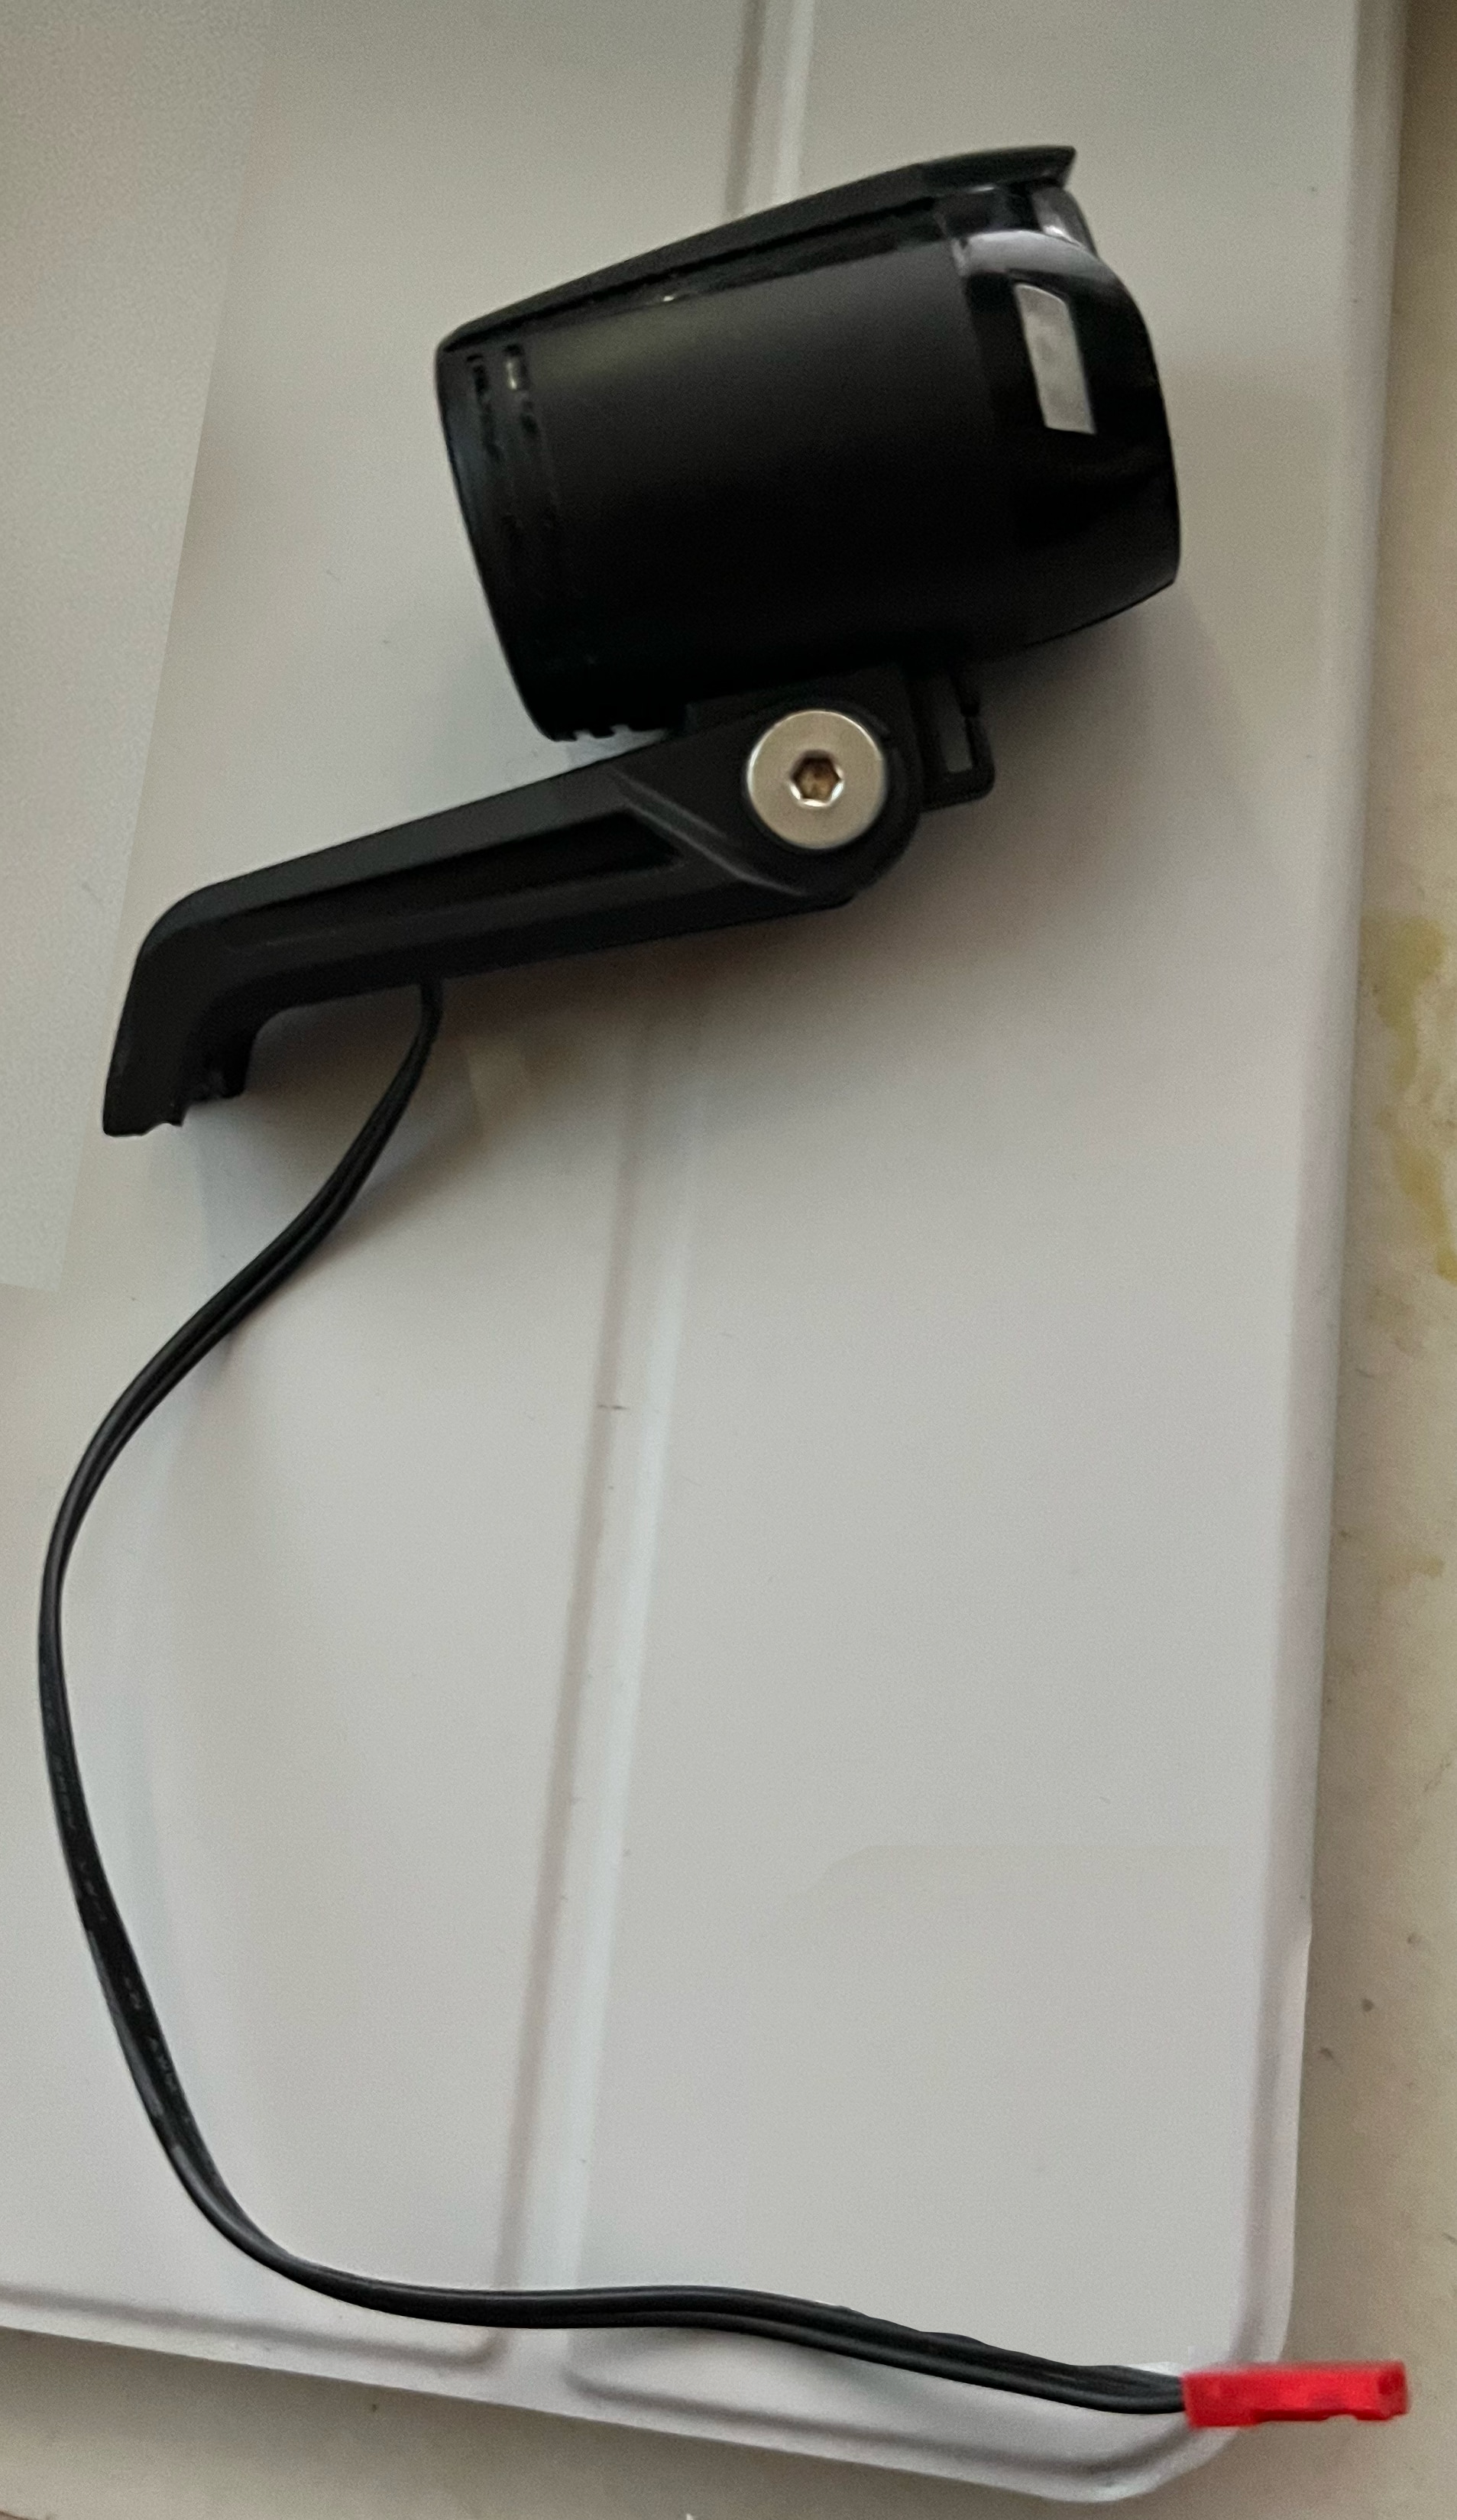
Attach original headlinght to top of camera
Mini F9 Action Camera & Power Analysis Report
1. Answers to Your Core Questions
- Does it have a flashlight at the end? No. Despite its flashlight or shotgun-barrel shape, the front end contains a 120-degree high-resolution ultra-wide-angle lens [1] . The rear end features a screw-on cap that protects the charging interface and controls [3, 2] . It does not output any structural light or have a built-in flashlight feature.
- Can the little red connector on that cable support enough power for the camera or headlamp?
Yes, easily for the camera, but it depends for the headlamp.
- The red plug is a 2-pin JST-RCY (BEC) connector [4, 5] . These small hobby connectors are continuously rated to handle 3 to 5 Amps of current at low voltages [6, 7] .
- The Mini F9 action camera operates on a power interface requirement of 5V at 1A [8, 9] , which equates to only 1 Amp of current draw. A JST-RCY connector safely handles 3 to 5 times that amount without overheating [4] .
- If your original headlamp uses an external battery box with this exact JST plug, that 3–5A headroom is typically more than enough to power standard high-draw LED headlamps alongside a small 5V action camera.
2. The Propic/Non-Standard Cable Trap
You hit the nail on the head: the USB charging cable for this camera is highly non-standard.
While the port on the camera physically looks similar to a standard Mini-USB or Micro-USB port, it uses a unique, proprietary pin layout and dimensional shape [10, 11] .
- The Problem: If you lose or don't receive the exact cable packaged with the camera, a regular phone or electronics cable will not slide into the slot or route the power pins correctly [10] . It can easily render the unit unchargeable [12] .
- The Data/Sync Cable: The camera has no internal memory and relies completely on an external Micro SD/TF card (up to 32GB) [3, 13] . To pull videos off the device onto a computer without taking the card out every time, you need that exact data sync cable to drop the camera into standard USB 2.0 Mass Storage Mode [8, 1] .
Because of this, any used listing priced at $17.99 to $20.99 that states "No Box" or "Unit Only" is a risk unless the seller explicitly confirms the inclusion of that specific cord.
3. Why They All Look Alike But Have Different Prices
The reason you see dozens of identical-looking listings with wildly varying prices (ranging from $17.99 all the way up to $89.00) comes down to how generic open-mold electronics are distributed. The camera itself is an unbranded white-label device produced by factories in bulk and sold under various reseller names like PolarLander, Eaglerich, or generic storefront tags [14, 15] .
The table below breaks down exactly why the prices fluctuate across your screenshots:
| Listing Type / Source | Price Range | What You Are Actually Paying For |
|---|---|---|
| Used / No-Box Marketplaces (e.g., eBay Used) | $17.99 – $20.99 [16] | Liquidation units, pre-owned gear, or closeouts. Often missing accessories or the vital custom cable. High risk of low remaining battery health. |
| Direct Import Platforms (e.g., Alibaba / Bulk) | Approx. $19.99 [17] | Factory baseline pricing. Typically requires wholesale minimum order quantities or long shipping lead times. |
| Standard Retail Resellers (e.g., Amazon Third-Party) | $29.90 – $39.90 [9] | Packaged under names like PolarLander [14] . Includes the full retail kit (box, custom USB cable, handlebar mounts, helmet straps, and basic manual) [14, 2] . |
| Overpriced / Kit Duplicates (e.g., High-tier Dropshippers) | $71.00 – $89.00 | Identical base hardware but bundled with an inflated retail premium or a cheap generic 32GB Micro SD card to mark up the cost. |
4. Technical Checklist for Buying Used
If you are leaning toward the lower-cost $17.99 or $20.99 listings, message the seller to check for these items before hitting "Buy It Now":
- Cable Confirmation: Ask explicitly, "Does this include the original proprietary USB charging/data cable?"
- Mounting Hardware: The cylindrical barrel shape cannot mount to anything without its specialized clip collar [2] . Ensure it includes at least the basic tube-clamp mount [2] .
- Battery Expectation: The built-in lithium cell is relatively small (typically 650mAh to 680mAh) [3, 9, 18] . While a brand-new unit can loop video for roughly 1 to 2.5 hours [15, 13, 19] , older used units stored in warehouse environments frequently suffer from degraded capacity.
Mini F9 Action Camera & Power Analysis Report
1. Answers to Your Core Questions
2. The Propic/Non-Standard Cable Trap
3. Why They All Look Alike But Have Different Prices
4. Technical Checklist for Buying Used
5. Evaluating Your Two Paths: Retail vs. DIY Headlamp Hack
6. Dual-Power Parallel Wiring Blueprint
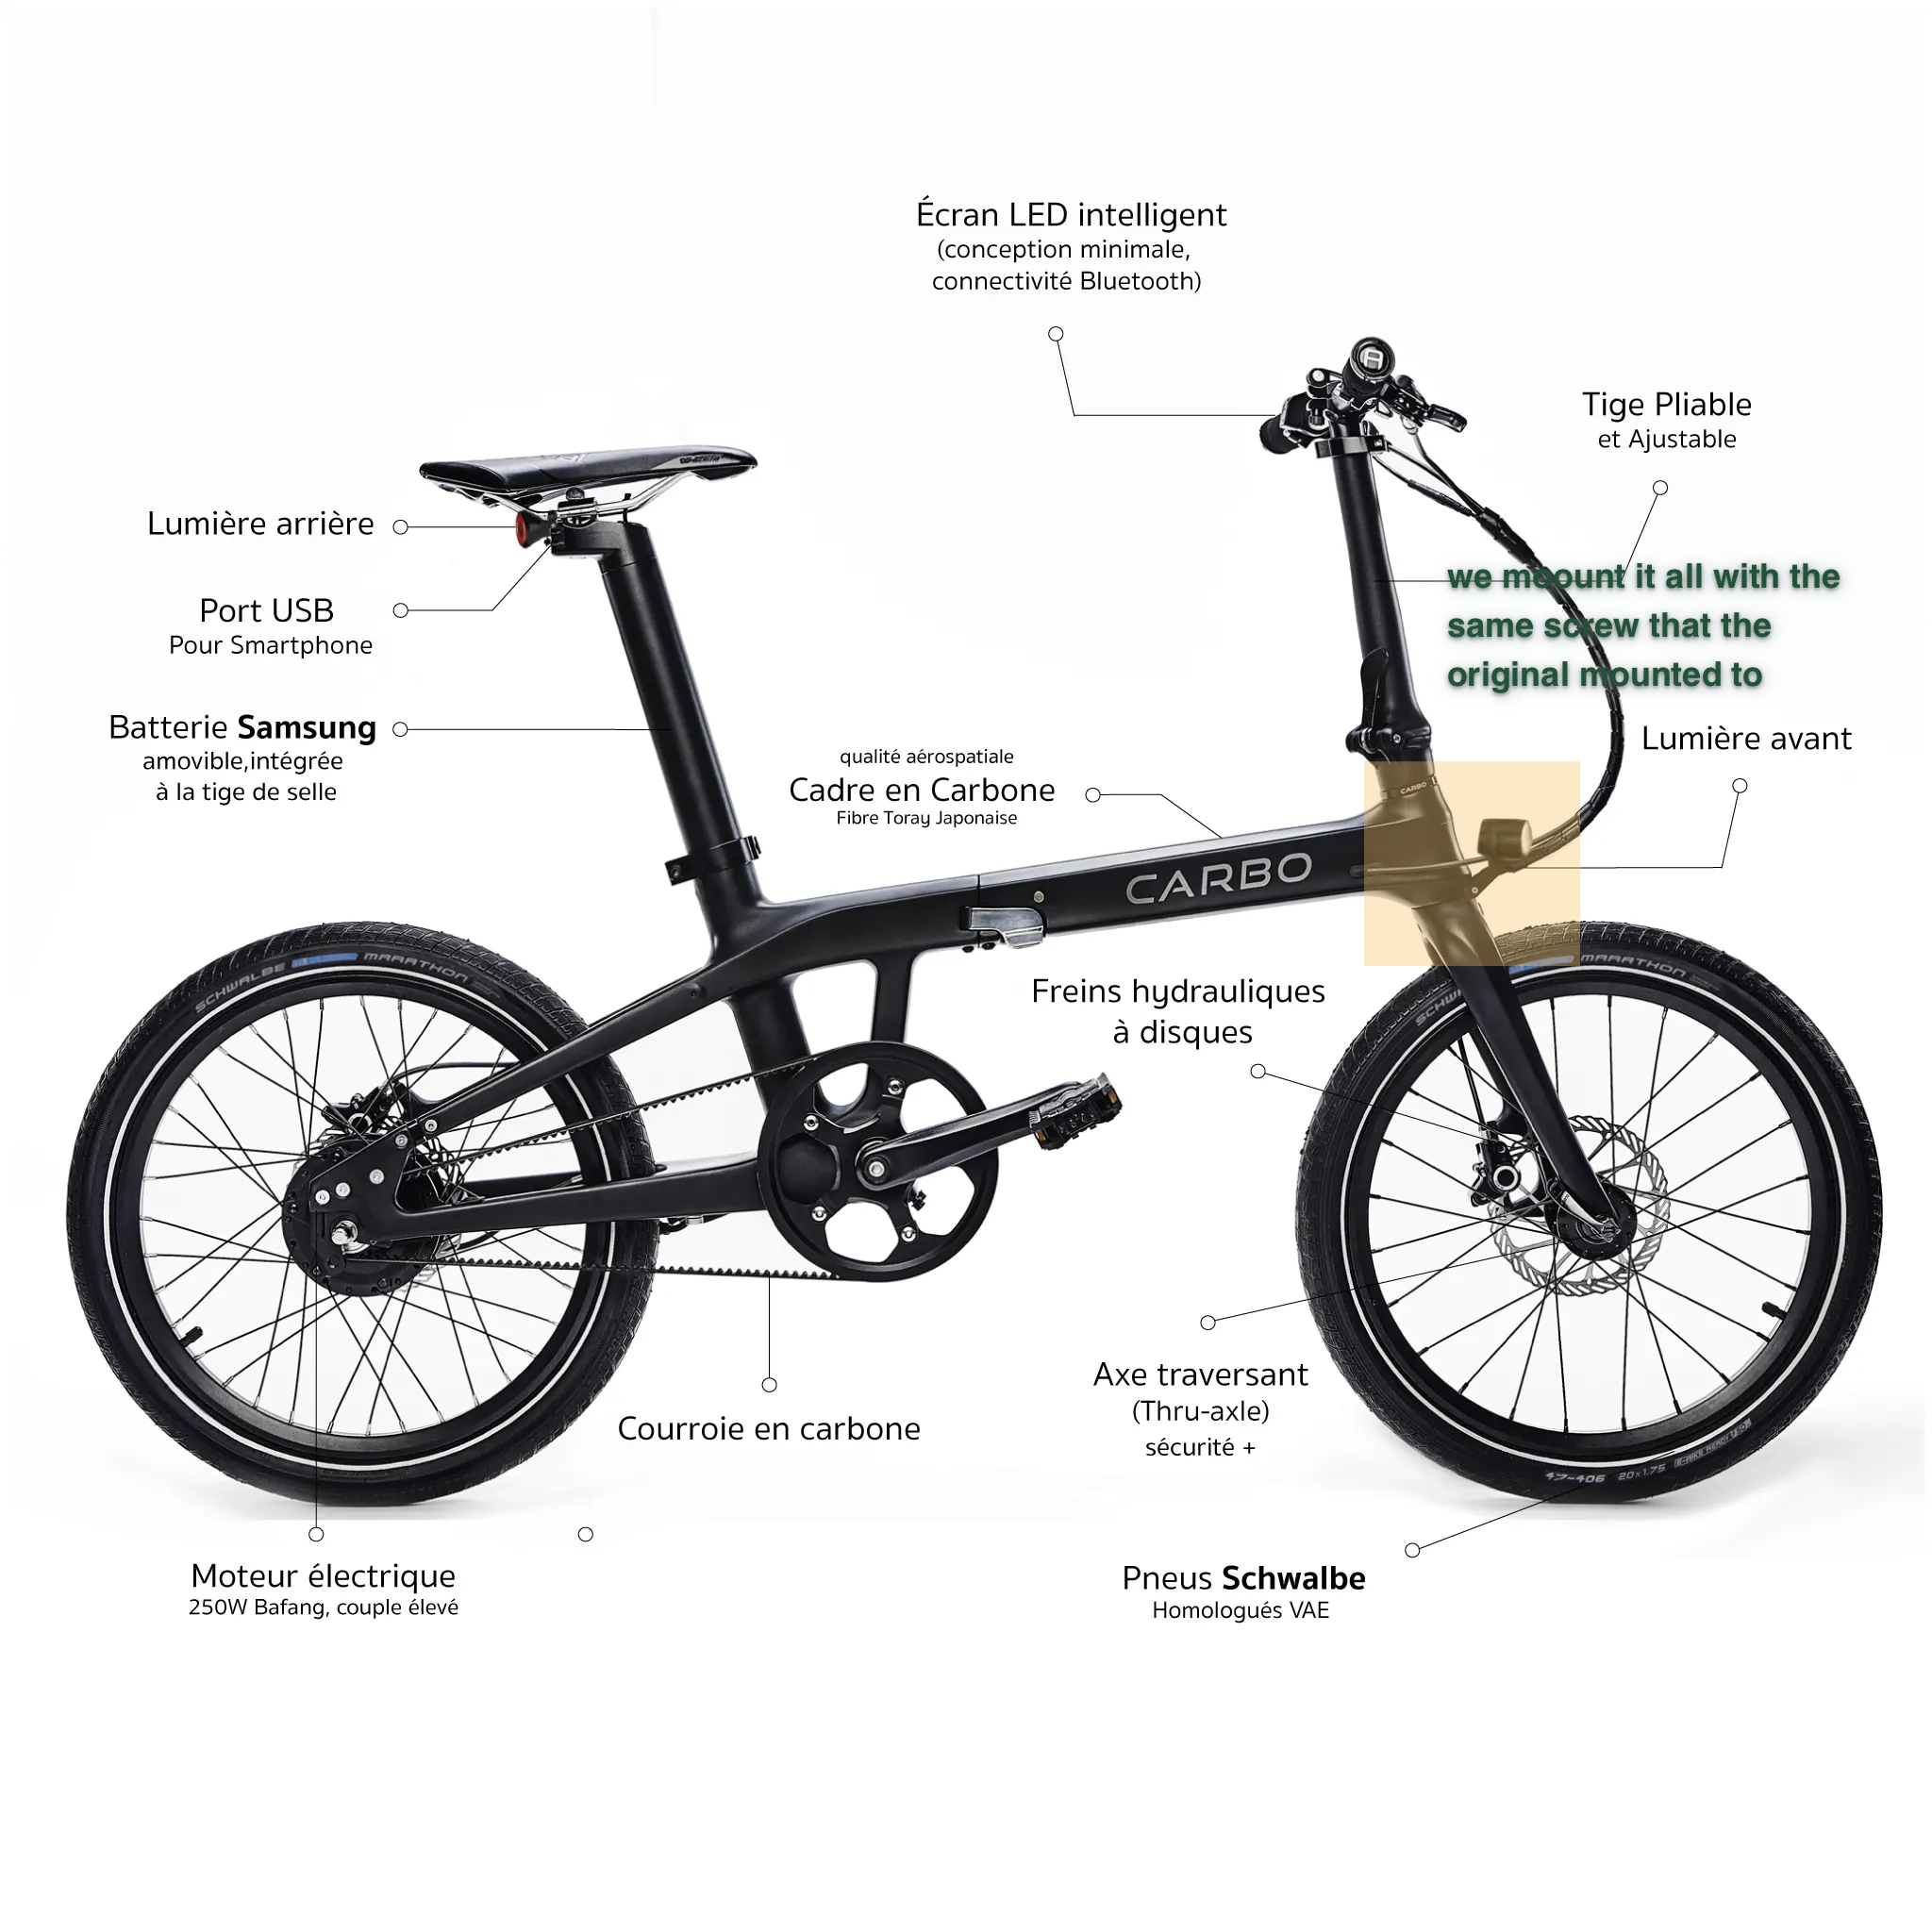
To feed power to both your Mini F9 camera and your original headlamp from that single red power lead on your CARBO bike, you must wire them in a Parallel Circuit [1] . Wiring them in parallel ensures that both devices receive the exact 5V DC they require to operate safely, splitting only the electric current (amperage) between them [2] .
Step-by-Step Dual-Power Splitting Guide
Since you want to utilize what comes right in the box, here is how you route and splice the connection safely:
1. The Schematic Layout
                           +--- [Positive / Red] ---> [ Original Headlamp Lead ]
                           |
[ CARBO Bike Power Lead ] -+
(Red JST-RCY 5V Connector) |
                           +--- [Positive / Red] ---> [ Mini F9 Custom USB Cable ]
                           |
                           +--- [Negative / Black] -> [ Original Headlamp Lead ]
                           |
[ CARBO Bike Ground Lead ] +
                           +--- [Negative / Black] -> [ Mini F9 Custom USB Cable ]
2. Preparing the Camera Wire
- Take the custom USB charging cable that comes inside your Mini F9 retail box [3] .
- Cut off the standard, boxy male USB-A end (the side you would normally plug into a phone wall adapter), leaving the custom circular threaded power tip intact with plenty of cable length.
- Carefully strip away 1 inch of the outer black rubber insulation. Inside, you will see a Red wire (Positive) and a Black wire (Negative/Ground) [5, 4] . (Ignore or snip away any green or white data syncing wires, as we are only using this for raw power).
3. Splicing the Split Connection
- Take the power input wires from your original headlamp (which already match the red JST connector format) and twist its Red wire together with the Red wire you just stripped from the camera cable.
- Twist the Black wire from the headlamp together with the Black wire from the camera cable.
- Insert these two joined pairs directly into your main power source line coming from the bike, matching Red-to-Red and Black-to-Black [5, 6] .
4. Insulation & Weatherproofing (Crucial for a Bike)
- Do not leave bare copper exposed. Because your folder commutes on urban pavement where rain or puddles happen, wrap each individual wire connection tightly with high-grade electrical vinyl tape [5, 7] .
- Once the individual lines are isolated, wrap a layer of heavy-duty heat-shrink tubing or an outer layer of electrical tape around the entire bundle to form a robust, waterproof seal right at the fork crown.
5. Operating Your Stacked Rig
- When your CARBO bike is turned on, 5V power will instantly flow down the fork leg line to both devices simultaneously.
- The headlamp will draw its power directly to illuminate the road ahead.
- The camera will receive continuous 5V 1A power through its threaded rear cap port [9, 8] , bypassing its limited internal battery completely so it can record your entire ride non-stop onto your Micro SD card [8, 10] .
Wiring Step by Step
- **Wzquisite Action Camera Kit****: Using the included camera body, 28mm ring clamp, pivoting extension hinge, fabric buckle straps, and custom USB power wire.
- **Original Working Headlamp****: Your existing front light featuring its integrated bottom bracket mount and attached power cord trailing down to a male JST-RCY plug.
- **Pre-Made JST-RCY Y-Splitter Harness****: A standard 2-pin RC accessory splitter (1 Male plug splitting into 2 Female sockets). [1, 2]
Plug-and-Play Wiring Blueprint
text
       [ CARBO Bike Power Lead ]
         (Female JST-RCY Output)
                   │
                   ▼
       [ Pre-Made Y-Splitter Cable ]
         (1x Male JST-RCY Input Plug)
         (2x Female JST-RCY Sockets)
           │                   │
           ├───[ Branch 1 ]────┤
           │                   │
           ▼                   ▼
    [ Original Headlamp ]   [ Camera USB Cable ]
    (Male JST-RCY Plug)    (Male JST-RCY Adapter)
                               │
                               ▼
                       [ Mini-USB Plug ]
                               │
                               ▼
                       [ Wzquisite Camera ]
Use code with caution.
Step-by-Step Mechanical and Electrical Assembly
- Mount the Camera Base: Bolt the Wzquisite camera’s pivoting extension hinge directly onto your CARBO bike's front-fork crown arch using the factory headlight mounting bolt.
- Secure the Camera Barrel: Snap the 28mm circular ring clamp around the aluminum chassis of the Wzquisite camera. Slot the bottom tabs of the ring clamp into the fork-mounted extension hinge, adjust the camera lens so it points straight ahead, and lock it in place by tightening the plastic thumbscrew.
- Stack the Headlamp: Place your original headlamp assembly directly on top of the camera's circular ring clamp. Loop the two long fabric buckle straps included in the Wzquisite box tightly around both the camera barrel and the headlamp body. Pull the straps tight to form a solid, vertical "stacked" column that will not shift during city pavement riding.
- Connect the Splitter Input: Plug the single **Male JST-RCY plug**** of your newly purchased pre-made Y-splitter cable directly into the **Female JST-RCY power connector**** coming out of your CARBO bike's frame. [1, 2]
- Plug In the Headlamp: Take the Male JST-RCY power plug coming from your original headlamp and click it firmly into the first Female JST-RCY socket on the Y-splitter harness. [1, 2]
- Plug In the Camera: Screw off the waterproof back cap of the Wzquisite camera to expose the mini-USB port. Connect the specialized mini-USB end of the factory charging wire into the camera, and plug the opposite end into the second **Female JST-RCY socket**** on your Y-splitter harness. [1, 2, 3]
- Tidy and Secure: Gather any loose wire slack from the splitter and USB cables. Use a couple of small plastic zip-ties to bundle the wires cleanly against your front fork stem. Make sure to turn your handlebars fully from left to right to confirm that the cables have enough flex and will not pinch or pull tight when you fold the bike frame.